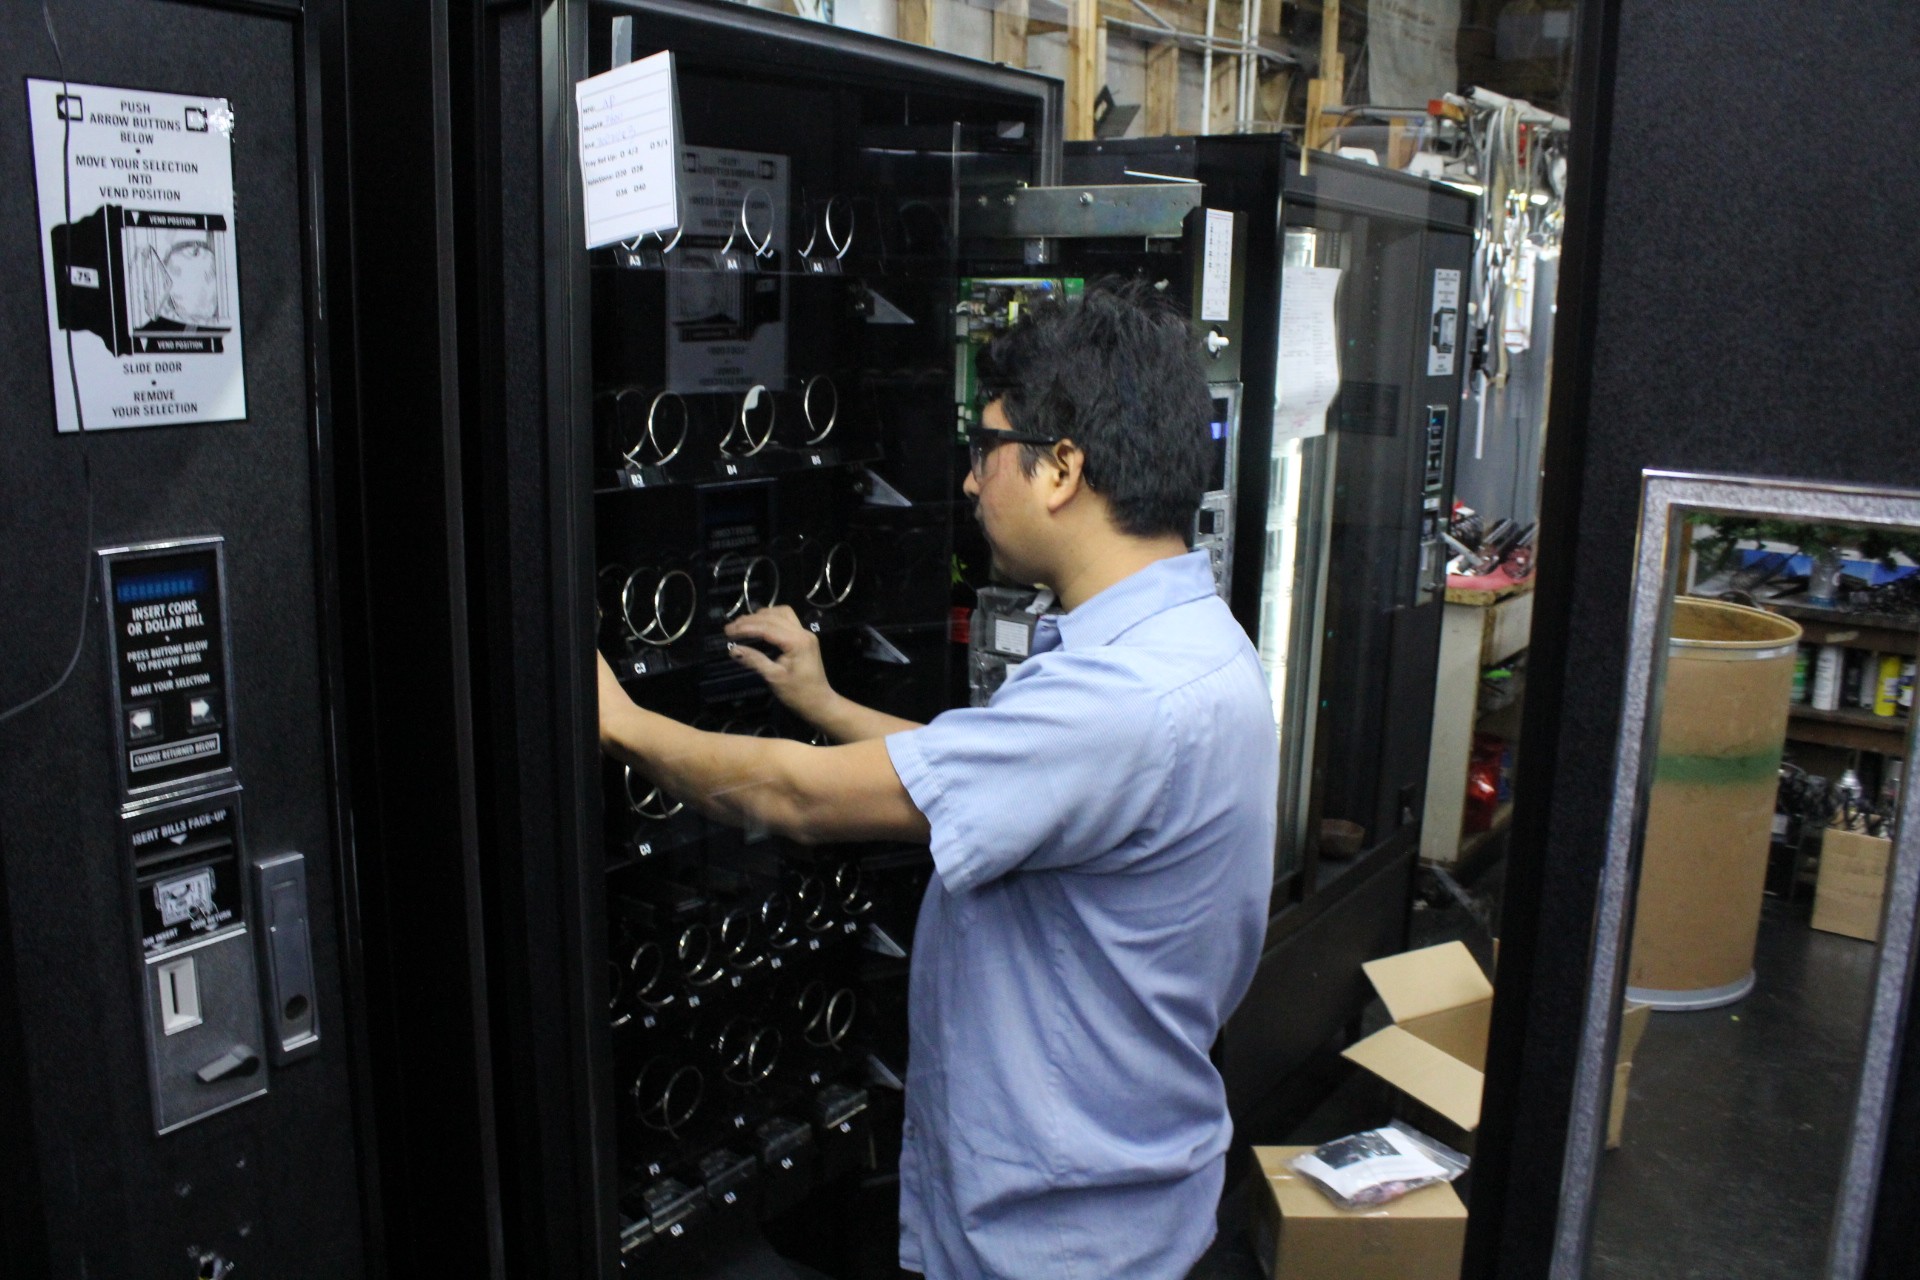
Are your vending machines damaged, tired, ready to quit, or dated? Instead of going into debt purchasing a new vending machine, you can have them refurbished and repaired professionally. A comprehensive vending machine repair and refurbishing process guarantees that you get trouble-free services affordably.
A company with a dedicated team of experienced vending machine repair and refurbishing technicians will transform your machine from “as is” status to “like brand new.” In this guide, you’ll learn about repairing and refurbishing a machine. Bringing the machine to its mint condition.
Transforming Your Vending Machine To A Brand New Look
A modern-day design of a vending machine should be fancy and sleek. A complete vending machine repair and refurbishing process will change the outward appearance of your machine immaculately. The process involves pulling out all the parts of the machine. To then replace the damaged ones, painting everything anew, and adding new finishes to all the sides.
What Can Go Wrong With a Vending Machine?
Many vending machine owners, especially those located in high foot traffic areas, experience coin or dollar bill mechanism issues. At some point, the mechanisms simply stop accepting money. While you can prevent these problems from regularly occurring by cleaning the dollar path and the coin path, you should consider a comprehensive machine refurbishment.
In 2020, it’s more cost-effective to have your machine’s changer and validator remanufactured to the highest OEM standards. This will help avoid technical problems that may lead to unnecessary downtimes. An established vending machine repair and refurbishing servicer provider will give you a warranty. This will act as a sign of backing their mechanisms remanufacturing process.
Your machine will be fully updated to the newest MDB standards. This means upgrading the changer and validator to MDB standards.
The process also involves putting guaranteed delivery on the machine, which is a force field that tells the vending machine that a customer has received his/her product in the delivery bin. Meaning, if the product fails to drop through the guaranteed delivery field, the machine will prompt the customer to make another request.
This allows the customer to know whether he/she prompted an empty selection or select to get his/her money back. This is a surefire way of ensuring all your customers are satisfied when using the vending machine on your premises.
Enhanced Product Display
Displaying the products in your vending machine in the most appealing way is super important in the vending machine business. A vending machine refurbishing process will typically involve pulling out your old fluorescent bulb. Next, you will look to replace it with a new LED strip.
The LED lighting will give your products a more 3D look by giving off a different color light. The new lighting will entice potential buyers more and increase sales dramatically. Additionally, this is a more cost-effective upgrade because the LED lighting can last up to 10 years.
Increase Energy Efficiency
The LED lighting upgrade is more energy-efficient than the dated fluorescent bulbs found in old vending machines. The vending machine refurbishing technicians will also install a Vendmiser, which is a motion detector, at the back of your machine.
The motion detector minimizes the amount of energy your machine consumes by cutting your machine off for up to 45 minutes when it detects that nobody has been to the break room for a long period.
When Should you Repair Your Vending Machine?
While professional vending machine repair services may seem expensive, it’s advisable to seek professional help to avoid extensive damages and costly repairs down the road.
We, at A&M Equipment Sales, offer steadfast shipping protection, which includes sturdy corner boards, 2×4 pallets’, shrink wraps, double metal bands, and leg runners to ensure your machine arrives at your location undamaged.
Our partnership with reputable carriers ensures that you get the most negotiated shipping rates on the market regardless of your location across the globe.
Receiving your vending machine is very exciting! First, inspect the vending machine as you unpack it and ask the driver to wait a few moments until you have done a quick inspection. Once you have signed off, you are responsible for the external condition.
If there are problems, note them on the bill of lading.
Receiving Your Vending Machine Review all documents attached to be sure that it is consistent with your order.
Once the vending machine has reached its destination, the shipping boards can be removed. Split the shipping boards with a wedge or crowbar at either end.
Do not tilt the vending machine or attempt to lift it with a two wheel truck.
Next, level the machine and adjust the four main legs so they are touching the floor.
Place the vending machine 5 feet from the designated power outlet. The ventilation opening in the back must be clear of obstructions.
For refrigerated models allow at least 4 inches between the wall and the back of the vendor for proper air circulation.
For indoor vending machines:
The power cord kit will be located in the coin box area. Before plugging the cord into the wall outlet, leave the metal cover attached and plug the cord into the connector at the rear of the machine. Using the screws provided, secure the protective cover and strain relief in place.
Warning: The false leg helps prevent the vending machine from tipping forward when the vending door is open and one or more bottle trays are extended. Failure to install the false leg on vendors with bottle trays may result in serious injury.
AMS SPEAKER: When the AMS vendor arrives, please take time to inspect the vendor as you unpack it. Whenever possible, ask the delivering driver to wait a few moments while unpacking is completed. This will be to the driver’s advantage since, if no problems are found, the driver and his company are not responsible for any external damage. Likewise, be sure that you inspect your vendor fully. Once you have signed off without comment, you are responsible for the external condition. If there are problems, note them on the bill of lading and be sure to keep a copy. Be sure to review any documents attached to be certain the information shown is consistent with your order. For example, match the serial number on the back of the carton with the serial number on the packing slips.
Step 3:
AMS SPEAKER: Once you have received your vending machine, the shipping boards can be removed. Split the shipping boards with a crowbar or wedge at either end. If necessary, lift the vendor to remove the broken boards using properly rated equipment. Do not tilt the vendor and do not attempt to lift the vendor with a two wheel truck. For safe operation, the vendor must be level. On the bottom of the vendor are four threaded leveling legs located at the corners of the cabinet and a fifth support screw is located under the door. With the door closed and locked, check the four main legs and adjust any leg that is not contacting the floor. A level may be placed on top of the cabinet.
AMS SPEAKER: Adjust the support screw after the machine is leveled until the door does not hit the roller. Place the vendor within five feet of the designated power outlet. The power outlet should be accessible when the vendor is in position and the ventilation opening in the back of the vendor must be clear of obstructions. For refrigerated models, allow at least four inches between the wall and the back of the vendor for air circulation. The following is for all indoor vendors only. A one quarter inch nut driver is needed. The power cord kit will be located in the coin box or coin box area. The kit includes the power cord, power cord cover, wire tie which is already attached to the cover, and six screws.
Receiving Your Vending Machine Step 3:
AMS SPEAKER: Before you plug the cord into the wall outlet, leave the metal cover attached. Plug the cord into the connector at the rear of the machine as shown. Using the six screws provided, use a one quarter inch nut driver to secure the protective cover and strain relief in place. The false leg helps to prevent the machine from tipping forward when the vendor door is open and one or more bottle trays are extended. Failure to install the false leg on vendors with bottle trays may result in serious injury. Make sure to Receive your Vending Machine with these steps
Scott: My name is Scott Kliendshimt. And I’m here to show you about the Vending Machine LED lighting that we offer at A&M Equipment. Vending Machine Led Lighting is a triple row LED, to replace the fluorescent bulbs that exist in the machines now. LED Lighting is much more energy efficient. the Vending Machine LED lighting don’t produce any heat. Vending Machine LED Lighting is much brighter than the existing fluorescent bulbs. When you first get them, they’ll have a cap on either end to protect the prongs. Remove the caps and discard them. To remove the old bulb from the machine, along with the starter. You no longer need a starter. Line the arrow on the end of the probe to the zero position on both ends. This is just for insertion. Place the bulb in the machine, and rotate it into position. Once the bulb comes on, then it can be rotated downward so as to shine towards the bottom of the machine and the lower racks. LED Lighting make the different items in your machine pop. Led Lighting is a white light instead of a soft light making every item pop. Only draw back is if you don’t keep the inside of your machine clean the customer can surely see it. Led Lighting last five to ten yeartsso you will have to change the bulb less. LED Lighting increases your sales, with a well lit machine. Thank you for watching Vending Machine LED Lighting at the Vending Business Show For More Vending Blogs Acquiring New Vending Accounts
Our vending consultants are happy to answer any questions or concerns you may have. Call 770-482-7993 or Email one of our consultants at: [email protected]